Navigating the complexities of file systems can be a dash task, peculiarly when consider with different run systems. One mutual challenge users face is manage Mac OS and NTFS file systems. NTFS, or New Technology File System, is the default file system for Windows, while macOS primarily uses APFS (Apple File System) or HFS (Mac OS Extended). Understanding how to work with these file systems can importantly enhance your productivity and information management capabilities.
Understanding NTFS and macOS File Systems
Before diving into the specifics of negociate Mac OS and NTFS, it's crucial to see the basics of these file systems.
What is NTFS?
NTFS is a proprietary file scheme germinate by Microsoft for use with Windows operating systems. It offers several advanced features, include:
- Improved performance and dependability
- Support for turgid files and partitions
- Enhanced security features, such as file permissions and encryption
- Journaling, which helps in data recovery after a system crash
What is macOS File System?
macOS uses two principal file systems: APFS and HFS. APFS is the newer file system introduced with macOS High Sierra, project to improve execution and efficiency. HFS, also known as Mac OS Extended, is the older file scheme still used in some scenarios.
Challenges of Managing NTFS on macOS
While NTFS is racy and lineament rich, managing it on macOS presents several challenges. Here are some of the key issues:
- Read Only Access: By default, macOS can read NTFS drives but cannot write to them. This restriction can be frustrating for users who want to modify files on an NTFS drive.
- Compatibility Issues: Some features of NTFS, such as file permissions and encoding, may not be fully supported on macOS.
- Performance: Accessing NTFS drives on macOS can sometimes be slower equate to aboriginal file systems.
Solutions for Managing NTFS on macOS
Fortunately, there are various solutions to overcome the challenges of managing Mac OS and NTFS.
Using Third Party Software
One of the most efficient ways to enable full read write access to NTFS drives on macOS is by using third party software. Several applications are available that can provide this functionality. Some popular options include:
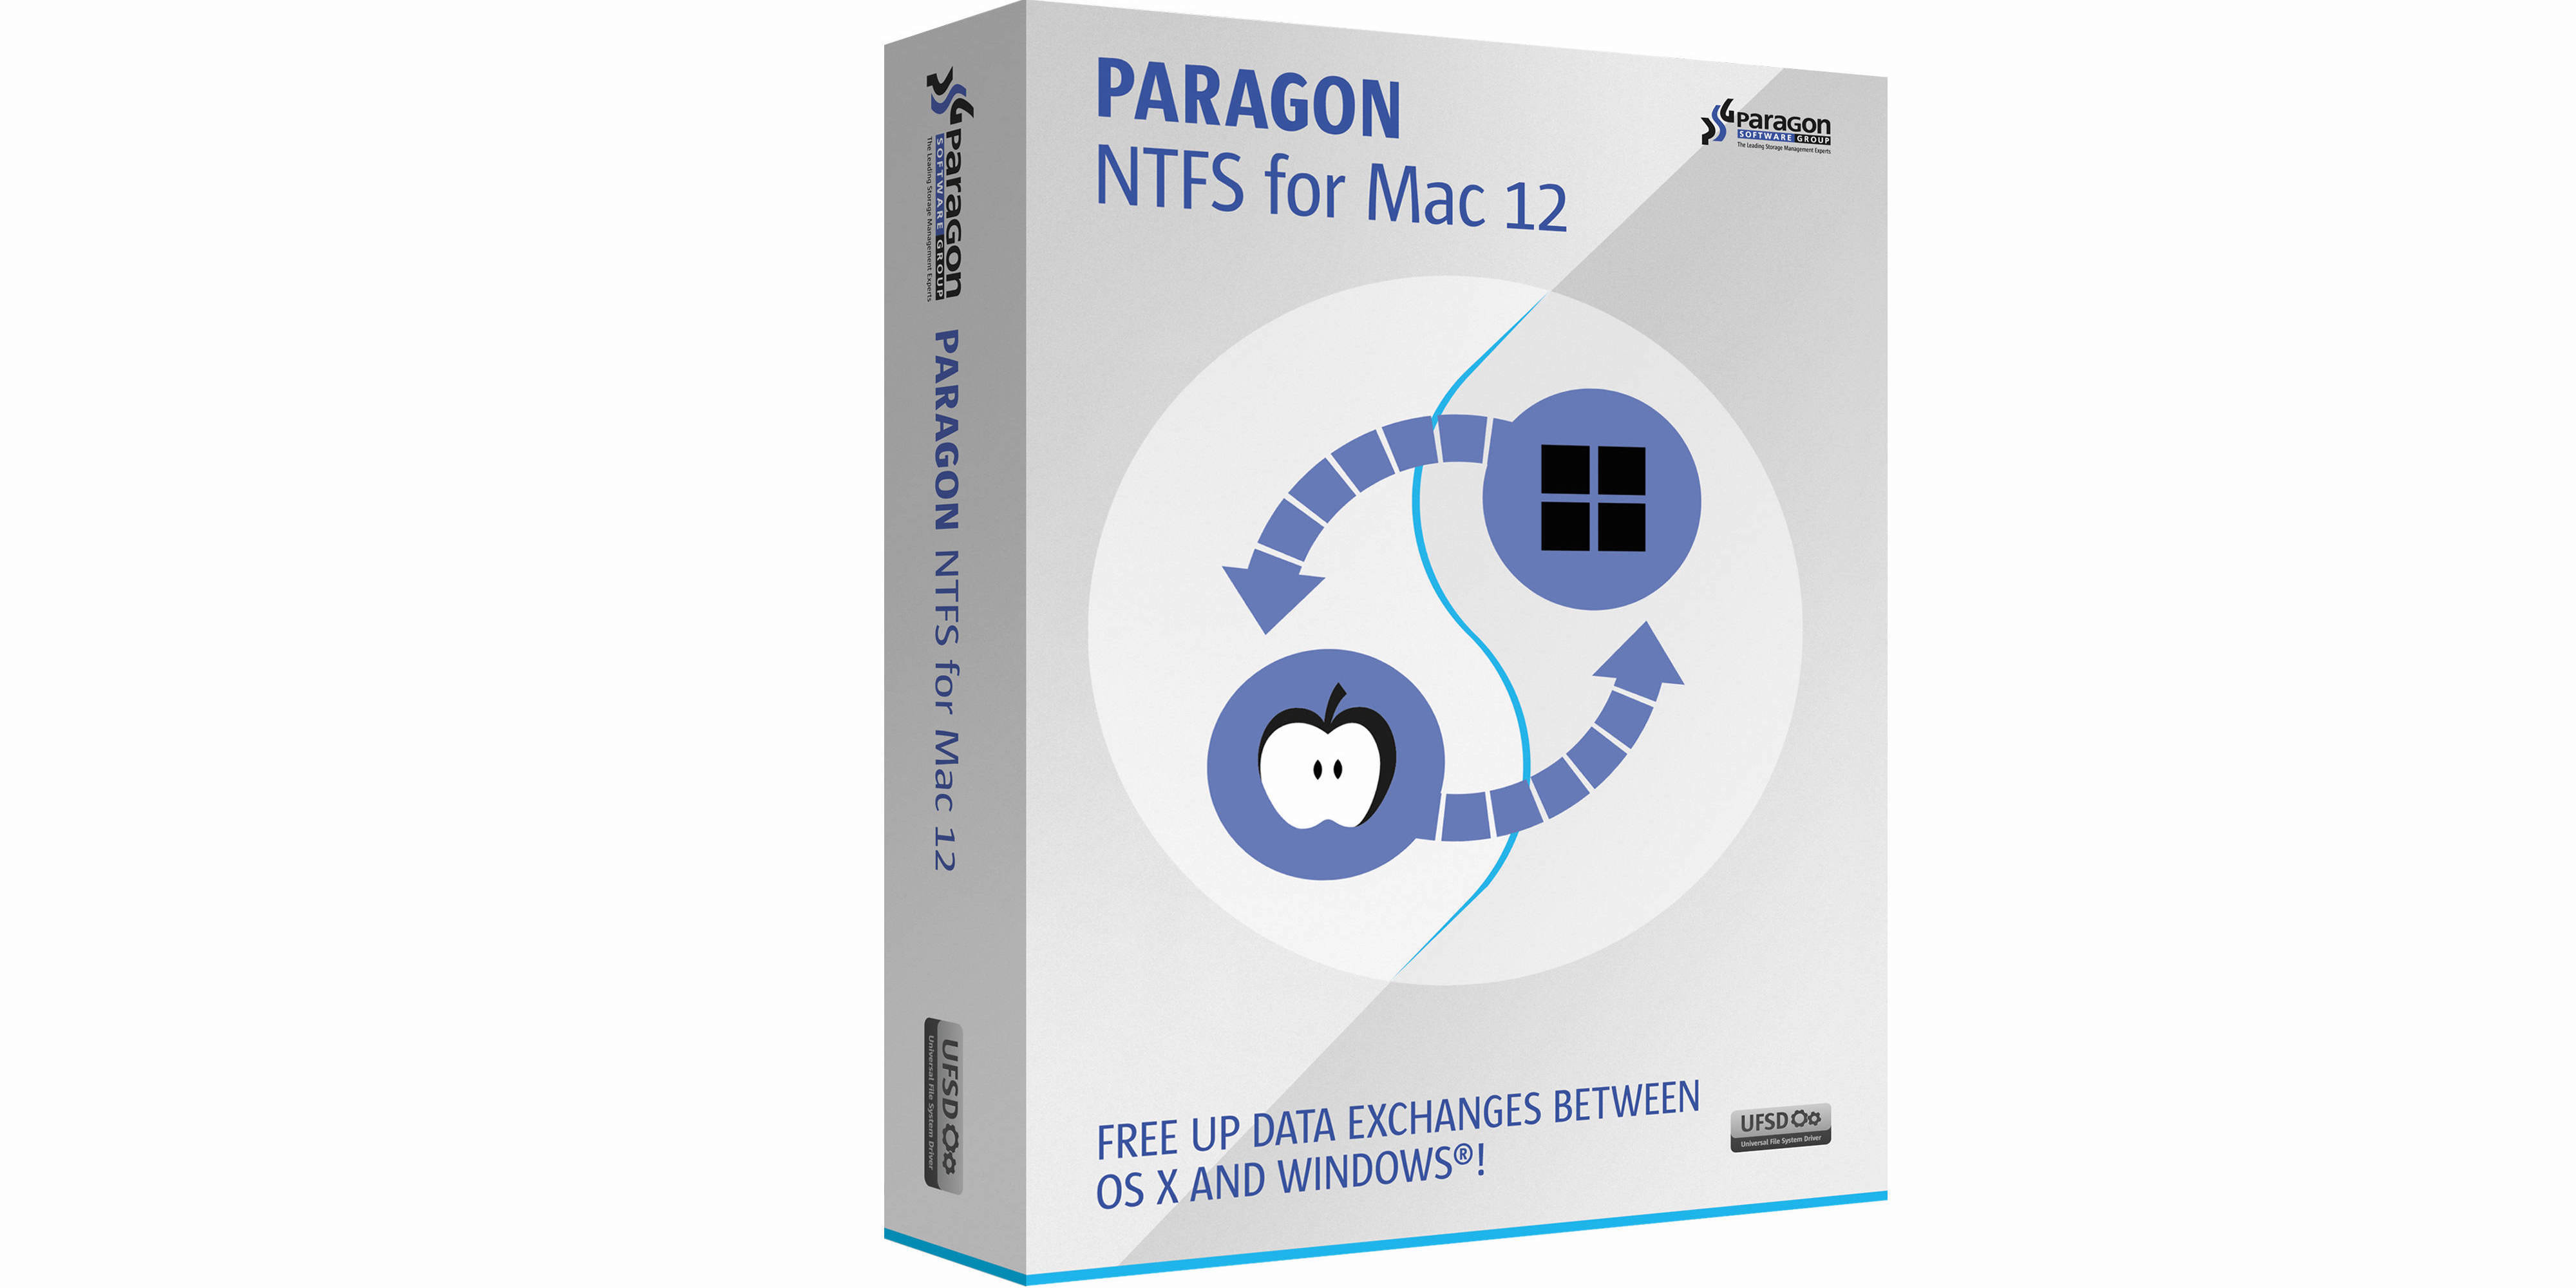
- Paragon NTFS for Mac: This software offers seamless integration with macOS, countenance total read write access to NTFS drives. It also supports supercharge features like file permissions and encoding.
- Tuxera NTFS for Mac: Another authentic option, Tuxera NTFS for Mac provides fast and stable read write access to NTFS drives. It is known for its execution and compatibility with various macOS versions.
- iBoysoft NTFS for Mac: This software is user friendly and offers full read write back for NTFS drives. It also includes features like data recovery and partition management.
Using Terminal Commands
For users who prefer not to use third party software, there is a workaround using Terminal commands. This method involves enabling write access to NTFS drives by change scheme settings. Here are the steps:
- Open Terminal from the Applications Utilities folder.
- Type the following command and press Enter:
sudo nano /etc/fstab
- Add the postdate line to the file, replacing "YOUR_DRIVE_NAME" with the name of your NTFS drive:
LABEL=YOUR_DRIVE_NAME none ntfs rw,auto,nobrowse
- Save the file by pressing Ctrl O, then press Enter to confirm.
- Exit the editor by urge Ctrl X.
- Restart your Mac for the changes to guide effect.
Note: This method can be risky and may lead to data loss if not done correctly. It is advocate to back up your data before go.
Using Disk Utility
Another method to deal NTFS drives on macOS is by using Disk Utility. This built in creature allows you to format and partition drives, although it does not provide total read write access to NTFS drives. Here are the steps to format an NTFS motor using Disk Utility:
- Open Disk Utility from the Applications Utilities folder.
- Select the NTFS drive from the list of drives on the left.
- Click on the "Erase" button.
- Choose "ExFAT" or "MS DOS (FAT)" as the format. Note that these formats are more compatible with both macOS and Windows but may lack some progress features of NTFS.
- Click "Erase" to format the motor.
Note: Formatting a drive will erase all information on it. Make sure to back up any important files before go.
Best Practices for Managing NTFS on macOS
To see smooth and efficient management of Mac OS and NTFS, follow these best practices:
- Backup Your Data: Always back up your data before making any changes to file systems or partitions.
- Use Reliable Software: Choose reputable third party software for contend NTFS drives on macOS.
- Regular Maintenance: Perform regular upkeep on your drives, such as checking for errors and defragmenting (if applicable).
- Stay Updated: Keep your macOS and any third party software up to date to ensure compatibility and security.
Common Issues and Troubleshooting
Even with the best practices in place, you may encounter issues when cope Mac OS and NTFS. Here are some mutual problems and their solutions:
Drive Not Mounting
If your NTFS drive is not rise on macOS, try the following steps:
- Check the drive's connection and see it is right sit.
- Restart your Mac and see if the motor mounts mechanically.
- Use Disk Utility to repair the drive. Select the drive, click on "First Aid", and follow the prompts.
Slow Performance
If you experience slow execution when access NTFS drives on macOS, consider the follow:
- Use a different USB port or cable to see a stable connection.
- Check for background processes that may be using system resources.
- Consider using a different file system, such as ExFAT, for better execution.
Data Corruption
Data corruption can occur due to improper handling of NTFS drives on macOS. To prevent this:
- Always safely eject the drive before disconnect it.
- Avoid using the motor on multiple function systems without proper synchronization.
- Regularly back up your information to prevent loss in case of corruption.
Managing Mac OS and NTFS can be gainsay, but with the right tools and knowledge, it is possible to overcome these obstacles. By read the file systems, using reliable software, and postdate best practices, you can check smooth and efficient information management across different control systems.
to summarise, navigating the complexities of Mac OS and NTFS requires a good interpret of both file systems and the tools available to cope them. By leveraging third party software, using Terminal commands, and following best practices, you can enhance your productivity and data management capabilities. Whether you are a casual user or a professional, mastering the art of managing NTFS on macOS can importantly improve your workflow and control datum unity.
Related Terms:
- copy to ntfs from mac
- ntfs tool gratis for mac
- ntfs for mac driver
- free ntfs driver for mac
- macbook ntfs international hard drive
- does ntfs act on mac