Creating a double bar graph in Excel is a knock-down way to compare two sets of information visually, making trends and differences immediately apparent. Whether you're analyzing sales performance across regions, tail monthly expenses by category, or presenting survey results, a well design double bar graph helps convey insights understandably and professionally. This guidebook walks you through the step by step process of construct a double bar graph in Excel, control accuracy and visual appeal. By postdate these instructions cautiously, users can transform raw data into obligate visual stories that indorse decision making and presentations alike.
Understanding the Purpose of a Double Bar Graph
A double bar graph also known as a grouped or clustered bar chart displays two categories of data side by side within each group. This format enables direct comparison between relate variables, such as revenue from two merchandise lines in the same one-fourth or attendance rates across two schools over several years. Unlike stacked bar graphs, which show parts of a whole, double bar graphs emphasize contrasts and similarities between distinct groups. They are specially utilitarian when highlighting differences in magnitude or tracking changes over time for multiple datasets.
Note: The clarity of your double bar graph depends heavily on consistent scaling and clear labeling this ensures viewers interpret the data accurately.
Step by Step Guide to Creating a Double Bar Graph in Excel
To make a double bar graph in Excel, postdate these structure steps:
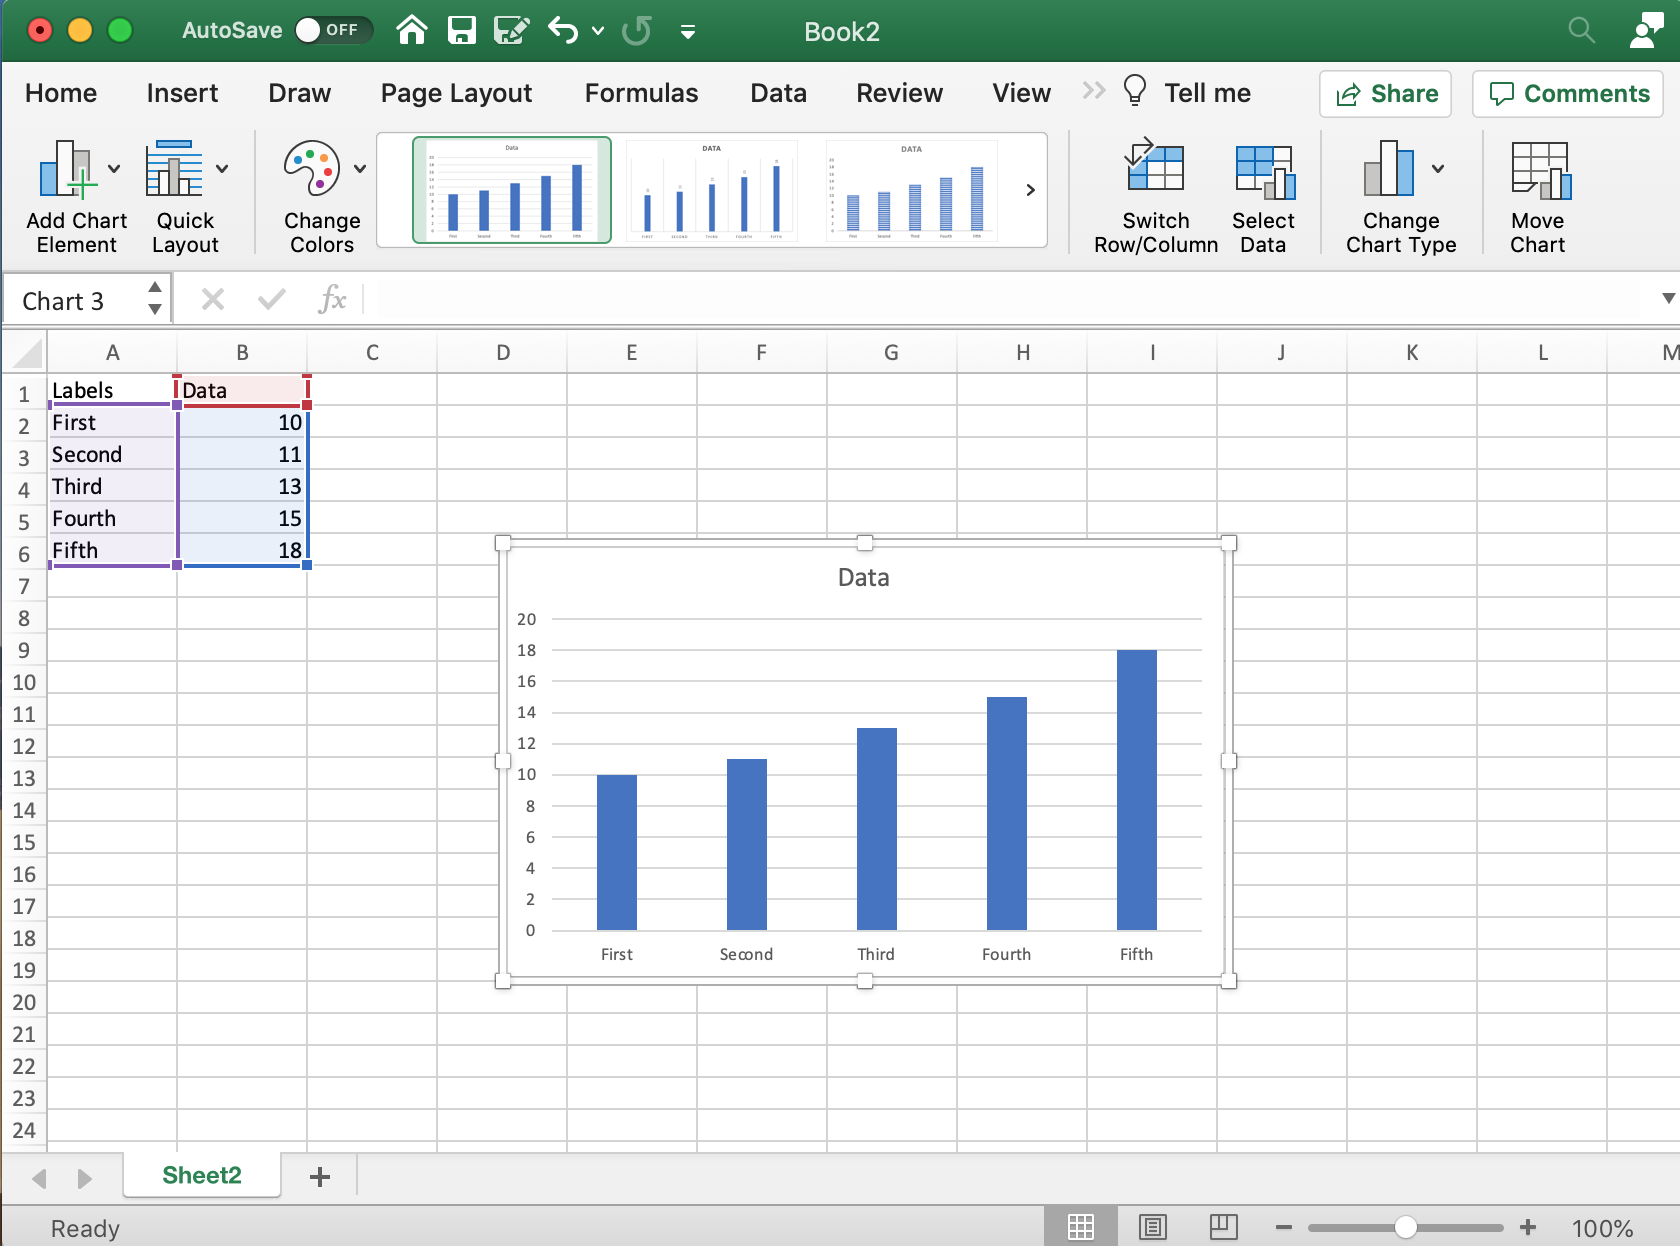
- Organize Your Data
Begin by structure your information in a clean, tabular format. For a double bar graph equate two categories across three time periods, use columns for Category A, Category B, and the corresponding values. Example layout:
| Month | Category A | Category B |
|---|---|---|
| January | 120 | 80 |
| February | 150 | 100 |
| March | 130 | 90 |
| April | 170 | 110 |
Select the Data Range
Highlight the full dataset, including headers. Excel automatically detects ranges when inserting charts, but precise choice improves alignment.Insert the Chart
Go to the Insert tab on the ribbon. In the Charts group, click Bar Chart, then opt the Clustered Bar Chart option. Excel creates a basic grouped bar graph with bars for each category side by side.Customize Bar Order and Grouping
By default, Excel groups bars by row. To ensure correct alignment, right click one of the bars, select Format Data Series, and adjust the Gap Width to zero. This eliminates unneeded space between bars, enhancing visual continuity.Add Category Labels Inside Bars
Right click each bar, select Add Data Labels, then select Value Only to display numerical datum understandably inside each bar. This improves legibility without jumble.Apply Consistent Colors
Use counterpoint colors for Category A and Category B to distinguish the groups outright. Go to the Chart Design tab, then Change Colors to assign unique hues avoid overly bright or similar tones that reduce lucidity.Adjust Axis and Scale
Ensure the horizontal axis (categories) displays labels distinctly and the erect axis (values) uses appropriate scaling. Right click the axis, select Format Axis, and set major unit increments (e. g., 10 or 20) base on datum range.Enhance Readability with Titles and Legends
Add a descriptive chart title, axis titles, and a legend if needed. Place the title above the chart using a bold heading font; label axes clearly to indicate what each represents.Final Touches: Remove Unnecessary Elements
Eliminate gridlines if they distract from the information, and insure the background remains clean. Use subtle shade or borders only if they aid inclusion.
Pro Tip: Always preview your chart on different sort sizes to confirm labels and colors remain legible across devices.
Visual Representation: Example Table for Double Bar Graph
| Month | Category A | Category B |
|---|---|---|
| January | 120 | 80 |
| February | 150 | 100 |
| March | 130 | 90 |
| April | 170 | 110 |
Note: Consistent initialise of numbers and alignment prevents misunderstanding of information values.
Tips for Effective Double Bar Graph Communication
- Use clear, concise axis labels to avoid disarray.
- Limit coloration choices to 2 3 distinct hues for maximum encroachment.
- Ensure bar widths and gaps are uniform to preserve visual balance.
- Include a descriptive title that summarizes the key insight.
- Test the chart with colleagues to control clarity before net demonstration.
Note: A well crafted double bar graph transforms complex datasets into intuitive visuals, empowering faster, information driven decisions.
The process of building a double bar graph in Excel combines information organization, visual design, and care to detail. By following these structured steps, users gain a true tool for liken two data series across share categories, enhancing both analysis and communication. With serious-minded customization and consistent arrange, Excel s built in graph capabilities deliver professional lineament visuals ready for reports, presentations, and dashboards.
Related Terms:
- side by column graph excel
- two side bar chart excel
- double side bar chart
- excel two bars side by
- bar chart with two bars
- side by bar graph excel